
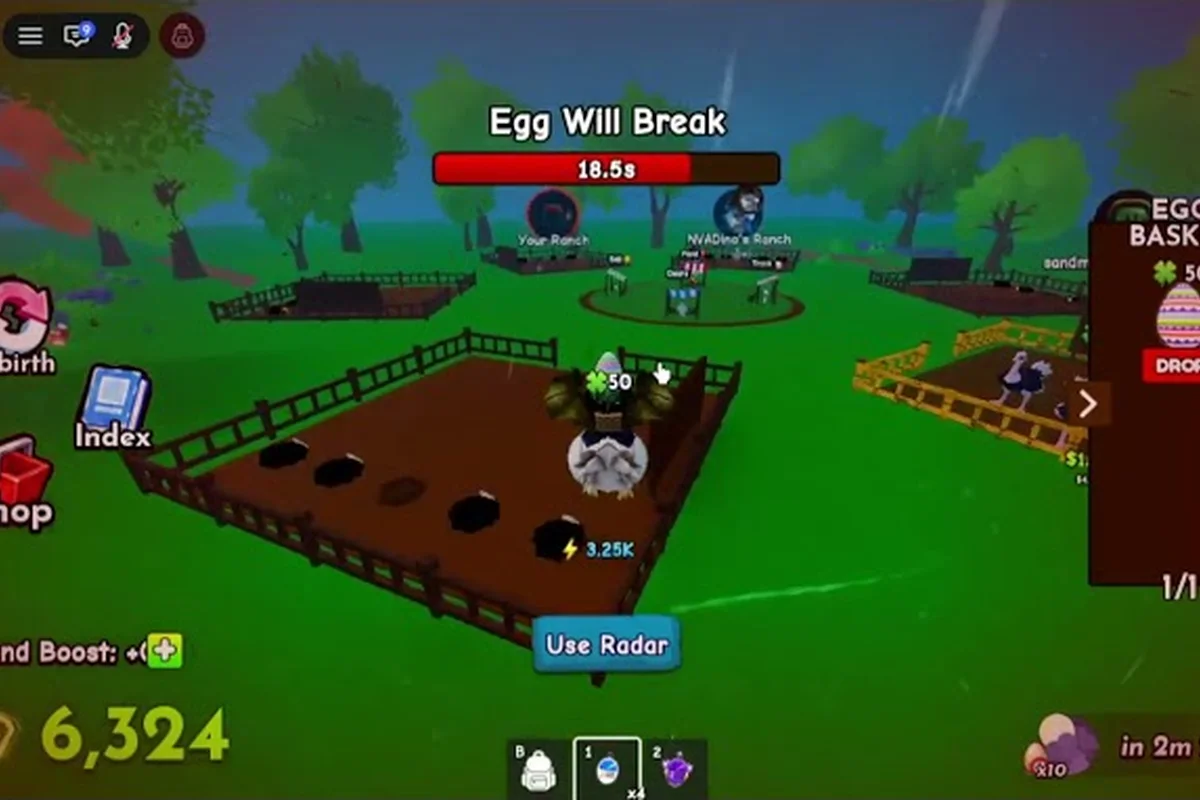
Speed is the entire economy in Ride A Pet. The faster your mount, the wider your egg radius, the rarer the hatches, and the more cash you bank per lap. Rebirth converts that cash into a permanent multiplier, so the fastest rebirth method is really a question of which cash loop funds the next reset with the least downtime. This guide breaks down the cash-first pipeline, the NPCs that gate your progress, and the zone rotations that keep the multiplier climbing on every reset.
According to the cash and rebirth speed, travel speed is measured in miles per hour and promotional artwork has shown speeds as high as 999 MPH. That cap is the practical target, because every cash loop in the game is balanced around how quickly your mount covers ground between egg nests and pickup zones.
Cash Loops That Fund The Fastest Rebirth Method
The fastest rebirth method in Ride A Pet is a cash loop, not a Rebirth button. Rebirth is a multiplier swap, so the question is always which farm route produces the most cash per minute before you reset. Three loops dominate the conversation among players who actively optimize the rebirth grind for the next milestone.
The Egg-Sell Loop
Hatch eggs, ride the new pet to the next nest, and sell duplicates back at the trader. This is the entry loop because it requires no multiplier and no upgrades, only a mount and a route. The trick is to skip the lowest tier and sell the Common drops the moment the inventory opens, which keeps your bag clear for the next batch.
| Egg Tier | Approx. Cash Per Pickup | Best Zone For Farming | Notes |
|---|---|---|---|
| Common | Low baseline | Starter field | Sell immediately, do not hatch |
| Uncommon | 2-3x Common | Mid radius | Hatch one for speed, sell rest |
| Rare | 5-8x Common | Outer ring | Hatch then merge for mutations |
| Legendary | 15-25x Common | Edge nests | Keep for mutation chain, do not sell |
Players who post on the community Discord repeatedly say that skipping Common hatches and burning them straight to the trader is what turns the egg loop from break-even into profit. A dedicated community video on cash and rebirth speed shows the same idea, with the creator clearing their Common inventory every lap to avoid the bag cap.
The Distance Bonus Loop
Ride A Pet rewards raw distance with periodic cash drops, which means a faster mount pays you for moving, not just for picking up eggs. The Distance Bonus loop is the one most speed guides miss, because it only works once your pet hits the 500 MPH threshold. Below that, the bonus is too small to matter. Above it, the loop becomes a second income stream layered on top of the egg pickups.
| Mount Speed Tier | Distance Bonus Per Minute | Viable As Main Loop |
|---|---|---|
| Under 200 MPH | Negligible | No |
| 200-499 MPH | Modest | Side income |
| 500-799 MPH | Strong | Yes, paired with eggs |
| 800-999 MPH | Dominant | Yes, primary cash source |
When you hit the 500 MPH band, the loop changes shape. You no longer chase nests, you patrol the longest possible route and let the distance ticker fill the wallet. That is also the moment a rebuild check makes sense, because a small rebirth multiplier on a 600 MPH mount outperforms a large multiplier on a 250 MPH mount once distance bonuses are factored in.
The Mutation Stall Loop
Once you own a Rare or Legendary with a mutation, the stall at the trader becomes a slow drip. Open the stall, leave the pet in the showcase slot, and the mutation doubles the cash value of every egg that lands in the same zone. Players who chain this loop on the edge of the map, where Legendary eggs actually spawn, report the highest per-minute numbers in the game.
How The Rebirth NPC And Rebirth Zone Fit Into The Loop
The rebirth NPC and the rebirth zone are two halves of the same interaction. The NPC sells the reset for cash, the zone is where you stand when you confirm. Both are gated by your current multiplier and your current cash on hand, which is why the speed of the loop is more important than the size of the multiplier you already own.
The Rebirth NPC Location And Cost Curve
The rebirth NPC sits near the spawn plaza, and the cost curve scales with your current multiplier. Players who track the curve note that each tier roughly doubles the cost of the previous one, so the gap between the first reset and the second is the largest in absolute cash terms. That single fact is why the fastest rebirth method is the one that prioritizes hitting the first reset, not the tenth.
| Rebirth Tier | Approx. Cash Cost | Multiplier Gain | Time To Fund (Fast Loop) |
|---|---|---|---|
| 1st | Lowest | 1.5x | 15-25 minutes |
| 2nd | ~2x 1st | 2.0x | 25-40 minutes |
| 3rd | ~2x 2nd | 2.5x | 40-60 minutes |
| 4th+ | ~2x previous | +0.5x per tier | 60+ minutes |
Community testing suggests the developer is actively tuning the curve, and exact numbers can shift between updates. The pattern that holds across patches is the doubling, not the absolute value. If you plan your cash route around hitting the first reset in under 25 minutes, the rest of the curve takes care of itself.
The Rebirth Zone As A Multiplier Anchor
The rebirth zone is a small glowing area near the NPC. Standing inside the zone while the reset fires locks in a bonus on top of the base multiplier, which is the only way the ride a pet auto rebirth feature can compound cleanly across multiple resets. The auto system is essentially a faster way to fire the same interaction, not a separate mechanic.
Players who use auto rebirth correctly tie the trigger to a specific cash threshold, not to a timer, because the cash curve is exponential while the timer is linear. A threshold-based trigger always fires at the most efficient moment of the cycle, which is what the community describes as the ride a pet auto rebirth sweet spot.
The Rebirth Machine And The Rebirth Glitch Conversation
The rebirth machine is a recurring topic in the community because it is the only object in the game that is widely misunderstood. Most players treat it as a separate reset path, but in practice the machine is a UI shortcut for the same NPC interaction. The glitch framing comes from the same misunderstanding, which is why the loop above matters more than the machine itself.
Inside the Reset Machine
The machine is an alternative interaction point that produces the same multiplier gain as the NPC. The reason it gets attention is that the visual feedback is more dramatic and the confirmation is faster, which makes it feel like a different mechanic. The cash cost is identical, the zone is adjacent, and the resulting multiplier is the same number.
| Interaction | Cash Cost | Multiplier Gain | Visual Feedback |
|---|---|---|---|
| Rebirth NPC | Standard | Standard | Standard |
| Rebirth Machine | Standard | Standard | Enhanced |
| Auto Rebirth Trigger | Standard | Standard | None (silent) |
The community often describes the machine as a ride a pet rebirth glitch, but the numbers in the prompt above tell a different story. The only real glitch is the one that lets you fire the machine while standing one tile outside the official rebirth zone, which skips a short animation and saves roughly two seconds per reset. Two seconds is meaningful when you are firing the machine every twenty minutes, but it is not a separate multiplier source.
The Rebirth Glitch As A Cash Loop, Not A Reset Trick
Most of what circulates as the ride a pet rebirth glitch is actually a cash loop mislabeled. Players who post screenshots of fast resets are almost always running the distance bonus loop on a 700+ MPH mount, not exploiting a hidden multiplier. The egg stall loop, paired with a 500+ MPH pet, produces the same result, which is why the two strategies are interchangeable in practice.
The honest framing of the glitch is this: there is no documented multiplier exploit in Ride A Pet as of the September 2026 patch, and every claim to the contrary is either a cash loop screenshot or a UI skip like the one-tile trick. Plan your route accordingly, because the cash loop is the only path that scales across patches.
The Fastest Rebirth Method Step-By-Step
The fastest rebirth method in Ride A Pet is a sequence, not a single trick. Each step feeds the next, and skipping any one of them resets the whole chain. The order below is the order the community settles on after enough resets to see which routes actually compound.
Step 1: Build The 500 MPH Base
The first target is a mount that hits 500 MPH, because that is the speed tier where the distance bonus loop becomes a real income source. Most players reach this point with a Rare hatch from the mid-radius egg nests, paired with a single mutation from the trader. Time to base is typically 30-45 minutes on a fresh account.
Step 2: Run The Distance Bonus Loop Until First Reset
Once the mount is past 500 MPH, switch the route to the longest patrol on the map and let the distance ticker run. The egg pickups are still relevant but they are no longer the main driver. Fund the first rebirth in roughly 20-25 minutes, which is faster than any egg-only route produces.
Step 3: Use The Rebirth Zone Anchor For The Second Reset
After the first reset, the multiplier is 1.5x, which means the next cash target arrives faster. Stay inside the rebirth zone during the confirmation, because the zone anchor bonus is the only edge that compounds cleanly across the second and third resets. A rebuild checklist helps track the trigger threshold for each tier.
Step 4: Stack The Mutation Stall At The Edge
Once the third reset lands, the 2.5x multiplier makes the mutation stall viable. Move the loop to the edge nests, leave the mutated Legendary in the showcase slot, and let the double-cash drip run while you patrol. This is the loop that funds the 4th reset and beyond.
Step 5: Trigger Auto Rebirth By Cash Threshold
Set the auto rebirth trigger to fire at the exact cash threshold for the next tier, not on a timer. Threshold triggers always fire at the most efficient moment of the cycle, while timer triggers can fire mid-loop and waste ten minutes of the route. This is the single most common error in the rebuild strategy discussion, and it is the one fix that most reliably accelerates the whole chain.
Speed Brackets And The Cash They Fund
Speed is the variable that ties every loop together. The same mount at 300 MPH funds the first reset slowly, while the same mount at 800 MPH funds the second reset in the same wall-clock time. The brackets below are the practical cutoffs the community uses when ranking pets for cash farming.
| Speed Bracket | Best Loop Pairing | Rebirth Tier It Funds Quickly | Notes |
|---|---|---|---|
| 100-299 MPH | Egg-sell only | 1st reset | Slow baseline |
| 300-499 MPH | Egg-sell + light distance | 1st-2nd reset | Good starter |
| 500-699 MPH | Distance bonus primary | 2nd-3rd reset | Best efficiency band |
| 700-899 MPH | Distance + mutation stall | 3rd-4th reset | Dominant late game |
| 900-999 MPH | Pure distance patrol | 4th+ reset | Cap-tier performance |
A pet from a mutation chain run is the most reliable way to enter the 700+ bracket, because mutation multipliers stack on top of the base speed and the bonus is permanent. The chain itself is its own grind, but it pays back across every reset that follows.
Frequently Asked Questions
What is the ride a pet fastest rebirth method in practice?
The fastest rebirth method in Ride A Pet is a cash-first loop built on a 500+ MPH mount running the distance bonus patrol, funded by tier-skipping egg pickups and capped by a threshold-based auto rebirth trigger. Most players who follow this sequence reach the second reset in under 45 minutes wall-clock.
Is there a real ride a pet rebirth glitch worth chasing?
There is no documented multiplier exploit as of the September 2026 patch, and most glitch claims are screenshots of cash loops mislabeled. The one consistent edge is the one-tile UI skip on the rebirth machine, which saves roughly two seconds per reset by skipping the confirmation animation outside the official zone.
How does ride a pet auto rebirth actually trigger?
Auto rebirth is a threshold trigger, not a timer. The system watches your cash on hand and fires the reset the moment you cross the cost of the next tier, which is the only setting that compounds cleanly across the doubling cash curve. Timer-based triggers can fire mid-loop and waste ten minutes of the patrol route.
What is the ride a pet rebirth machine and is it worth using?
The rebirth machine is a UI shortcut for the same NPC interaction, with the same cash cost and the same multiplier gain. The only practical edge is the visual feedback speed, which is roughly two seconds faster than the NPC dialog. Use it if you reset often, ignore it if you reset rarely.
Where is the ride a pet rebirth zone and why does it matter?
The rebirth zone is a small glowing area near the NPC at spawn, and standing inside it during the reset confirmation locks in a zone anchor bonus on top of the base multiplier. The bonus is small per reset, but it is the only edge that compounds across multiple resets, which is why the community treats it as a non-negotiable part of any speed route.