
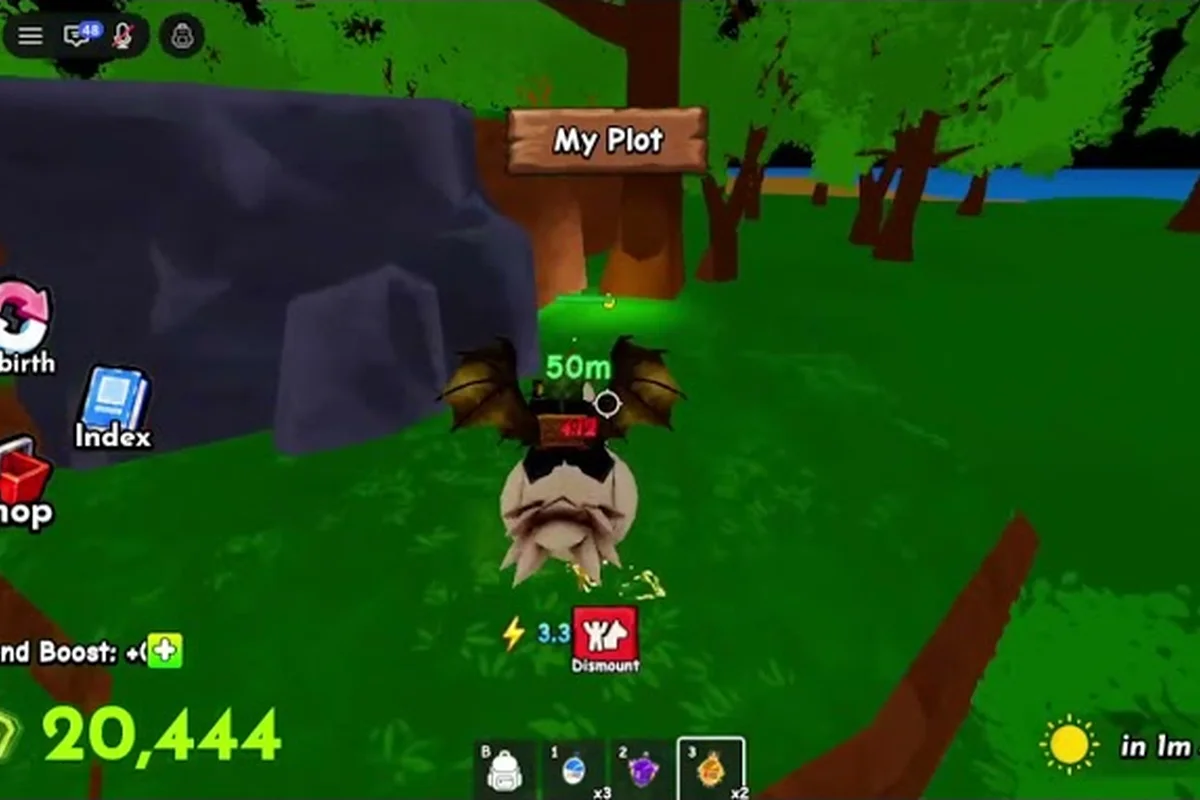
The complete Ride A Pet egg list matters because every nest you can reach is the gate to the next mount, and the mount is what lets you reach the next tier of nests. Eggs in this game are not bought from a menu, they are physical objects placed around the map that you ride to, pick up, and crack open at the hatchery. According to the how to get more eggs and pets in Ride A Pet, the loop is explicitly built around finding eggs around the map and then hatching rarer and faster pets, so knowing which nest is which is the single biggest force multiplier in the early grind.
How the Ride A Pet Egg System Actually Works
Ride A Pet uses a nest-based system rather than a gacha machine. You see an egg-shaped object on the ground, you walk or ride up to it, and it adds to your inventory. From there you open your backpack, select the egg, and the hatch timer starts. The official description calls eggs "found" rather than purchased, which is why ride a pet egg locations are the real skill you are building.
Egg vs Pet vs Mount: Why the Names Overlap
The same word — "egg" — gets used for three different things depending on who is talking. A nest is the physical object on the map. An egg is the item in your backpack that has a hatch timer. A pet is what hatches out of the egg. A mount is the pet you have currently equipped and are riding. This is the source of most confusion when players compare notes, so the ride a pet egg list has to keep those four layers separate to be useful.
| Layer | Where it lives | What it does |
|---|---|---|
| Nest | On the map, in the world | Pickup object, respawns on a timer |
| Egg | Backpack slot | Hatch timer runs when selected |
| Pet | Pet roster after hatch | Stored unit with speed and rarity |
| Mount | One active slot | The pet you are physically riding |
Rarity Tiers and Why the Ride A Pet Egg Rarity Labels Matter
Every egg in the game is tagged with a rarity label, and the rarity of the egg sets the floor for the rarity of the pet that comes out. A Common nest cannot hatch a Mythic pet, no matter how lucky the roll. The ride a pet egg rarity tags are the single most useful filter when you are deciding which nests to detour for and which to skip, because time spent at a Common nest is time you are not spending at a Rare one.
| Rarity | Typical Hatch Speed | Reach Requirement |
|---|---|---|
| Common | 1x base | Spawn zone, always reachable |
| Uncommon | 1.25x–1.5x base | Mid-map, short ride |
| Rare | 1.5x–2x base | Outer ring, needs upgraded mount |
| Legendary | 2x–3x base | Far biome, needs top-tier mount |
| Mythic | 3x+ base | Edge of map, event-locked nests |
The Full Ride A Pet Egg List by Nest Type
The ride a pet egg list is split into nest families, and each family has its own color, biome, and rough reach requirement. Promotional artwork for the game calls out specific nests such as the Flame Egg and Dragon Egg, which line up with the Rare and Legendary bands in the table below. A community video on how to get more eggs and pets in Ride A Pet shows the same family colors in practice, with the rarer nests sitting visibly further from spawn.
| Nest Family | Color Cue | Biome | Typical Rarity Band | Reach Difficulty |
|---|---|---|---|---|
| Starter Egg | Pale white | Spawn meadow | Common | Walk from spawn |
| Meadow Egg | Green | Central plains | Common–Uncommon | Short ride |
| Forest Egg | Dark green | Tree line | Uncommon | Mid map |
| Desert Egg | Sandy yellow | Dune band | Uncommon–Rare | Outer ring |
| Snow Egg | Light blue | Tundra edge | Rare | Needs upgraded mount |
| Flame Egg | Orange-red | Volcano rim | Rare–Legendary | Top-tier mount |
| Dragon Egg | Dark red | Peak biome | Legendary | Endgame mount |
| Event Egg | Rotates | Limited biome | Mythic | Time-gated |
Starter Egg and the Meadow Tier
The Starter Egg is the one you hatch within your first ten minutes. It always sits near the spawn pad, and its purpose is to give you a baseline mount so you can reach the next ring of nests. The Meadow Egg family surrounds spawn and is where the ride a pet where to find eggs question first gets answered: walk in any direction, look for pale green nests half-buried in the grass, pick them up, and crack them as a batch.
Forest, Desert, and Snow: The Mid-Tier Loop
Once your Starter pet is equipped and giving you a real MPH boost, the Forest and Desert nests become reachable. These are the workhorse eggs of the ride a pet egg guide because they are common enough to farm in volume and uncommon enough to actually move your roster forward. The Snow Egg is the first nest where your current mount starts to feel slow, which is the intended friction: you need a Rare-tier pet to clear the tundra, and you need Snow Egg hatches to roll that Rare-tier pet. A practical workaround is documented in the broader Ride A Pet map guide, which walks through the same ring-by-ring unlock order.
Flame, Dragon, and the Endgame Nests
Flame and Dragon nests are the headline entries on any ride a pet all eggs table because the pets they drop are the ones that other players actually want. Flame sits at the volcano rim and is the first Legendary-tier nest most players reach, while Dragon nests are at the peak biome and require a top-tier mount just to touch. These nests also have the longest respawn timer, which is why the community routes them as side trips off a wider loop rather than dedicated farms.
Where to Find Each Egg in Ride A Pet
Ride a pet egg locations are not published as a coordinate sheet by the developer, so the working knowledge is community-built. The official developer group communicates changes through the game itself, which means the map is also a moving target. Treat any specific coordinates you hear as a snapshot, and rebuild your route every patch.
Spawn Zone and the Inner Ring
The inner ring is roughly a 30-second walk from spawn in any direction. It contains every Starter and Meadow nest, plus the occasional Forest egg that bleeds inward. This is the right place to spend your first hour, because you are converting walking into pets with no mount requirement. By the end of the inner ring you should have a full pet roster and a workable mount, which is the gear check for the next ring.
Mid-Map and the Outer Ring
The outer ring is where Desert nests dominate and where the first Snow nests start to appear at the edges. The route pattern that the community has settled on, based on player reports, is to sweep in an expanding spiral from spawn rather than picking a single direction. A spiral covers the inner ring twice (once outbound, once on the way back) and catches nests that respawned while you were gone, which roughly doubles your pickup rate per minute.
Far Biomes and the Event Layer
The far biomes — volcano, peak, and any rotating event layer — are the answer to "ride a pet where to find eggs that actually matter for trade value." These nests are gated by both distance and respawn timer, and the only honest advice is to clear the route in long sessions rather than short hops, because every minute you spend in the inner ring is a minute the volcano nest is sitting empty for someone else.
| Zone | Distance From Spawn | Best Mount Tier | Pickup Cadence |
|---|---|---|---|
| Inner ring | 0–60 sec walk | Any | Constant, respawn is fast |
| Mid map | 1–3 min ride | Uncommon–Rare | Every 2–3 min |
| Outer ring | 3–6 min ride | Rare | Every 5–7 min |
| Far biome | 6+ min ride | Legendary+ | Every 10+ min |
| Event layer | Variable | Mythic only | Time-gated |
Ride A Pet Egg Rarity and Hatch Odds
Ride A pet egg rarity is set when the egg is picked up, not when it hatches. The hatch screen just reveals what the egg already was. This is the mechanic most players get wrong, and it is also why the ride a pet how to hatch eggs question is really two questions: "how do I pick the right nests" and "how do I make the timer finish faster." The honest answer to both is that nest choice dominates, because a Rare egg that hatches in 4 minutes is still better than a Common egg that hatches in 1.
The Hatch Timer Math
Hatch timers in Ride A Pet scale with both egg rarity and mount speed. A faster mount does not change the rarity of what is inside the egg, but it does shorten the wait between pickup and roster. The real speed math is in the travel loop, not the hatch screen, which is why ride a pet egg guide content keeps coming back to route design. For players who want the deep dive on the travel-speed multiplier, the Ride A Pet how to get faster guide breaks down the MPH bracket system that funds the whole egg economy.
How to Read a Hatch Result
When an egg hatches, the game shows you a pet with a color border that matches the rarity band. Common hatches are pale, Uncommon are green, Rare are blue, Legendary are gold, and Mythic are rainbow. The color is the only honest rarity signal in the game, because the pet's visible name does not change between rarities. If the border does not match the rarity you expected from the nest color, that is a signal the egg pool shifted, and you should expect the change to be reflected in a future patch.
Building a Ride A Pet Egg Farming Route
The right farming route is the one that matches your current mount tier, not the one that aims for the rarest nests. A player on a Common mount chasing Dragon nests will spend more time riding than picking, which is the most common way players stall their own progression. A route that converts your current speed into a steady stream of mid-tier eggs is always more efficient than a route that chases the bracket above your reach.
The Expanding Spiral Route
The expanding spiral is the workhorse route for the first three days. Start at spawn, ride outward in a loose spiral, pick up every nest you cross, and once you have cleared the visible map, ride the spiral back inward to catch the nests that respawned while you were on the outer loop. This pattern shows up in nearly every community video and is the baseline for ride a pet egg locations knowledge.
The Loop-and-Detour Route
Once you have a Rare-tier mount, the loop-and-detour pattern is more efficient. Build a fast loop through the inner and mid rings that you can clear in 4–5 minutes, then add detours to the outer ring as side trips. The detours should be timed to the respawn window of the far nests, which is roughly every 10 minutes. The reason this beats a pure outer-ring grind is that you keep your inventory topped up with mid-tier eggs while waiting for the long-respawn nests to come back, so your backpack never goes idle.
| Route | Best Mount Tier | Eggs per Hour | Cash per Hour |
|---|---|---|---|
| Inner spiral | Common | 30–40 | Low |
| Mid spiral | Uncommon | 20–25 | Medium |
| Loop + detour | Rare | 25–30 | High |
| Far biome sweep | Legendary | 15–20 | Very high |
| Event rotation | Mythic | 10–15 | Event-dependent |
How Patch Notes Move Nests Around
Ride A Pet's egg pools shift with patches, which is why any ride a pet egg list should be read with a date stamp. The developer communicates changes through the game and the official community rather than a published spreadsheet, so players who want an up-to-date view are tracking patch notes, not memorizing a static table.
What Changes Between Patches
The most common changes are nest respawn timers, new egg families added to the event layer, and small shifts in the rarity bands of existing nests. The rarities of the pets inside the eggs almost never change, which is the one piece of the system you can treat as stable. If a Rare nest is currently hatching Uncommon pets, that is a temporary bug or a misremembered nest, not a new normal.
How to Adjust Your Route After a Patch
After any patch, the first thing to do is sweep the inner ring to confirm the baseline nests still spawn where you expect. If they do, your existing route is probably still valid. If a nest is missing or has moved, the change is usually announced in the patch notes and you can adjust your detour order. The wider point is that ride a pet egg guide content is most valuable when it teaches you how to read the map, not when it gives you a fixed list of coordinates that goes stale the next patch.
Common Ride A Pet Egg Mistakes to Avoid
The most common egg mistakes are not about which nest to pick, they are about how players spend their time between picks. A player who sits at the hatchery watching timers is losing the loop, because every minute at the hatchery is a minute the nests on the map are sitting unpicked. The fix is to keep moving and let the timers run in the background.
Mistake 1: Farming Above Your Mount Tier
The single biggest stall in the early grind is chasing nests your current mount cannot reach quickly. If your mount is Uncommon and you are detouring to the outer ring, you are spending more time in transit than in the loop, which means the nests you do pick up are the wrong ones. The right move is to clear the inner and mid rings until your roster supports the next tier.
Mistake 2: Ignoring the Backpack
A full backpack silently disables new pickups, which is the mechanic that breaks most farming routes. Players who do not check their inventory regularly will ride past nests without picking them up, then wonder why the route feels dry. The fix is to make hatchering a checkpoint, not a destination: every time you cross the spawn pad, open the backpack, crack the oldest eggs, and keep moving.
Mistake 3: Reading the Wrong Rarity Signal
Players often confuse the visible color of the egg with the rarity band it will hatch. Nest color is a hint, not a guarantee, and the only honest rarity signal is the border color on the hatch screen. If you are optimizing for trade value, the right move is to wait for the hatch and sell the pets that come out of the higher-rarity eggs, not the eggs themselves, which is the framing the Ride A Pet egg prices guide uses to rank nest families by long-term value.
Putting the Ride A Pet Egg List to Work
The ride a pet egg list is most useful when it is treated as a map of reach requirements, not a list of nest names. Every entry on the table maps to a mount tier, and every mount tier maps to a route pattern. Once you have the route pattern down, the rest of the game is just hatching, trading, and pushing for the next mount bracket.
A practical checklist for using this ride a pet egg guide is short. First, identify your current mount tier and the ring of nests it can comfortably reach. Second, build a loop that clears that ring in under five minutes. Third, add one detour to the next ring out, timed to the respawn window. Fourth, keep the backpack cycling so you never lose a pickup to a full inventory. Fifth, check the patch notes after every update and adjust the route if a nest moves or changes rarity. That five-step loop is the entire egg economy, and the table above is the gear check for each step.
Frequently Asked Questions
What is the full Ride A Pet egg list?
The current ride a pet egg list runs from Starter and Meadow nests in the inner ring, through Forest, Desert, and Snow nests in the mid and outer rings, up to Flame, Dragon, and rotating event nests in the far biomes. Each family is tied to a rarity band that sets the floor for the pets it hatches.
Where do I find rare eggs in Ride A Pet?
Rare eggs sit in the outer ring and the far biomes, including the Snow, Flame, and Dragon nest families. They are gated by travel distance, so you need a Rare-tier or better mount to reach them on a regular loop, and you should plan the route around the respawn window rather than a fixed coordinate.
How do I hatch eggs faster in Ride A Pet?
You do not speed up the individual hatch, you speed up the loop. A faster mount shortens the time between pickups, the hatch timer runs while you ride, and the steady stream of new eggs is what actually moves your roster. Ride A pet how to hatch eggs content almost always comes back to route design rather than timer tricks.
Do egg colors match the rarity of the pet inside?
Nest color is a hint, not a guarantee. The only honest rarity signal is the border color on the hatch screen, which matches the rarity band of the pet that came out. If a Rare-colored nest hatches an Uncommon pet, that is the egg pool and not a bug to report.
How often do nests respawn in Ride A Pet?
Respawn timers scale with distance from spawn. Inner-ring nests respawn in roughly 1–2 minutes, mid-map nests take 3–5 minutes, outer-ring nests take 5–7 minutes, and far-biome nests can take 10 minutes or more. This is why the loop-and-detour route is more efficient than a pure far-biome grind, because the inner nests refill while you are waiting on the outer ones.